

Why You’ll Love Dark Chocolate and Sea Salt Nut Bars Recipe
• Crunchy texture with rich dark chocolate and a hint of sea salt for perfect sweet‑savory balance
• Simple to make with minimal ingredients
• Customizable nut combinations to suit your taste
• Makes great grab‑and‑go snacks or homemade gifts
Ingredients
(Tip: You’ll find the full list of ingredients and measurements in the recipe card below.)
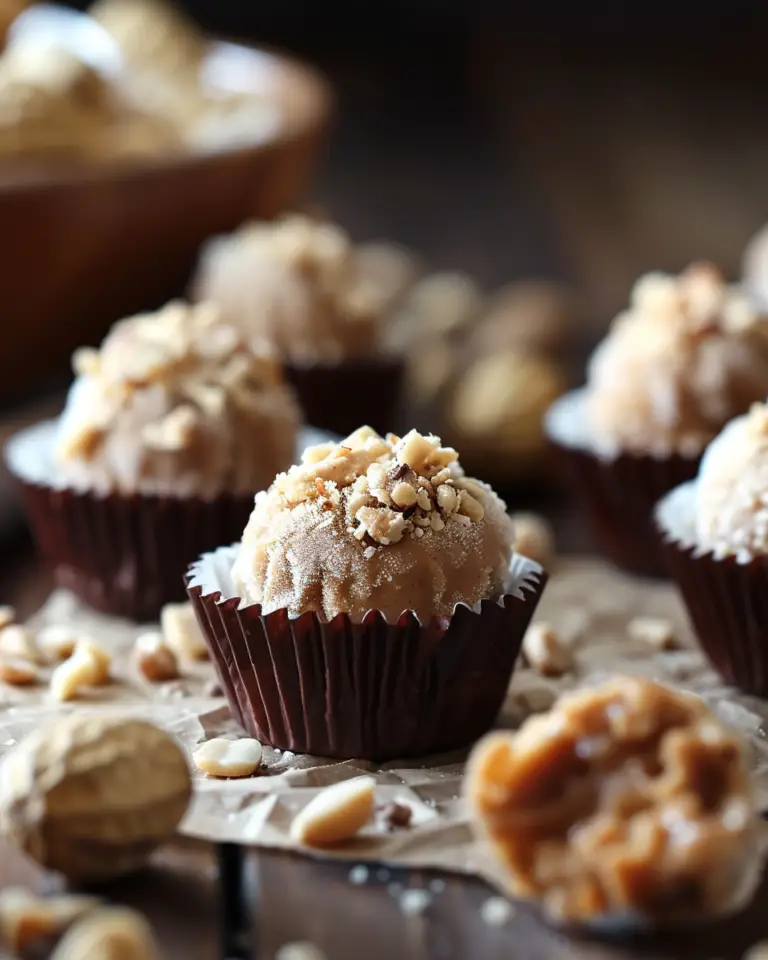
2 ½ cups unsalted nuts of choice (e.g., cashews, peanuts, almonds)
½ cup puffed rice
¼ cup brown rice syrup
1 ½ teaspoon vanilla extract
½ teaspoon sea salt
1 cup dark chocolate chips
2 teaspoons coconut oil
Optional: flaky salt for topping
Directions
-
Preheat oven to 325°F (160°C).
-
Spread the nuts in a single layer on a rimmed sheet pan and bake for 5–8 minutes until fragrant and lightly browned.
-
Line an 8×8‑inch pan with parchment paper.
-
In a large bowl, combine the roasted nuts and puffed rice.
-
Microwave the brown rice syrup for about 30 seconds, then whisk in vanilla extract and sea salt.
-
Pour the syrup mixture over the nut and puffed rice blend; stir until evenly coated.
-
Press the mixture firmly into the prepared pan in an even layer.
-
Bake for 18–20 minutes. Allow to cool for about 30 minutes, then cut into bars.
-
Melt the chocolate chips with coconut oil in the microwave in 30‑second intervals, stirring in between.
-
Dip the bottom of each bar into the melted chocolate, place on parchment, drizzle more chocolate on top, and sprinkle with flaky salt if using.
-
Refrigerate until the chocolate sets, then enjoy.
Servings and timing
• Yield: about 10–12 bars
• Prep time: ~20 minutes
• Cook time: ~20 minutes (plus cooling and chocolate setting time)
Variations
• Swap nuts: use walnuts, pecans, pistachios, hazelnuts, or macadamias
• Chocolate options: use semisweet or milk chocolate if preferred
• Syrup alternatives: honey or maple syrup can be used instead of brown rice syrup (note: bars may be stickier)
• Add seeds like pumpkin or sunflower for extra crunch
• Stir in dried fruits or coconut flakes for additional flavor
Storage/Reheating
• Store in an airtight container at room temperature for up to 1 week
• For longer storage, freeze bars with parchment paper between layers to prevent sticking — they’ll last several months
• No reheating needed; serve chilled or at room temperature
FAQs
How long do these nut bars last?
They last about a week at room temperature in an airtight container or up to several months in the freezer.
Can I make the bars gluten‑free?
Yes, just ensure the puffed rice you use is certified gluten‑free.
What nuts work best?
Almonds, cashews, and peanuts are commonly used, but you can mix and match based on preference.
Can I use honey instead of brown rice syrup?
Yes, honey works, but the bars may be a bit stickier and not hold together as well.
Is there a no‑bake version?
This recipe is baked for better structure, but a no‑bake version can be created with tweaks to the syrup ratio or using nut butter as a binder.
Can I make these vegan?
Yes, just use dairy-free chocolate chips and a vegan-friendly syrup like brown rice or maple.
How do I prevent the bars from falling apart?
Firmly press the mixture into the pan and let it cool completely before slicing.
Can I reduce the sugar?
You can use darker chocolate with a higher cocoa content and reduce the sweetener slightly, though it may affect texture.
Why does the chocolate look uneven sometimes?
Chocolate can seize or harden unevenly if overheated; melt it slowly in intervals and stir well to ensure smoothness.
Can I add dried fruit?
Absolutely—chopped dried fruits like cranberries, cherries, or apricots add a nice chewy contrast to the crunchy nuts.
Conclusion
These Dark Chocolate and Sea Salt Nut Bars are the ultimate balance of indulgent and nutritious. With a satisfying crunch, rich chocolate coating, and just the right touch of salt, they’re perfect for any occasion—from lunchboxes to dessert platters. Easy to make, adaptable, and freezer-friendly, this recipe will quickly become a household favorite.

Dark Chocolate and Sea Salt Nut Bars
5 Stars 4 Stars 3 Stars 2 Stars 1 Star
No reviews
- Author: Mia
- Total Time: 30 minutes
- Yield: 12 bars
- Diet: Vegan
Description
These Dark Chocolate and Sea Salt Nut Bars are a healthy, satisfying snack packed with nuts, seeds, and a layer of rich dark chocolate. Perfect for meal prep, they’re naturally vegan and gluten free.
Ingredients
- 1 cup raw almonds
- 1 cup raw cashews
- 1/2 cup pepitas
- 1/4 cup sunflower seeds
- 2 tbsp chia seeds
- 1/2 tsp ground cinnamon
- 1/4 tsp salt
- 1/3 cup maple syrup
- 1/3 cup creamy unsweetened almond butter
- 1/2 tsp vanilla extract
- 3/4 cup vegan dark chocolate chips
- 1 tsp coconut oil
- Flaky sea salt, for topping
Instructions
- Preheat the oven to 325˚F / 163˚C and line an 8×8 inch pan with parchment paper.
- In a large mixing bowl, stir together the almonds, cashews, pepitas, sunflower seeds, chia seeds, cinnamon, and salt.
- In a small saucepan over low heat, stir together the maple syrup and almond butter until melted and smooth. Remove from heat and stir in vanilla extract.
- Pour the wet mixture over the dry ingredients and stir until well combined.
- Transfer mixture to the prepared pan and press down firmly into an even layer.
- Bake for 18–22 minutes, or until golden brown and slightly firm to the touch. Remove and let cool completely in the pan.
- Once cool, melt the chocolate chips and coconut oil together, stirring until smooth.
- Pour the chocolate over the bars and spread into an even layer. Sprinkle with flaky sea salt.
- Refrigerate until chocolate is set, then cut into bars.
Notes
- Store bars in an airtight container in the fridge for up to a week or freeze for longer storage.
- You can substitute other nuts or seeds based on preference.
- Use high-quality dark chocolate for best flavor.
- Prep Time: 10 minutes
- Cook Time: 20 minutes
- Category: Snack
- Method: Baking
- Cuisine: American
Nutrition
- Serving Size: 1 bar
- Calories: 230
- Sugar: 8g
- Sodium: 75mg
- Fat: 17g
- Saturated Fat: 4g
- Unsaturated Fat: 12g
- Trans Fat: 0g
- Carbohydrates: 15g
- Fiber: 4g
- Protein: 6g
- Cholesterol: 0mg


