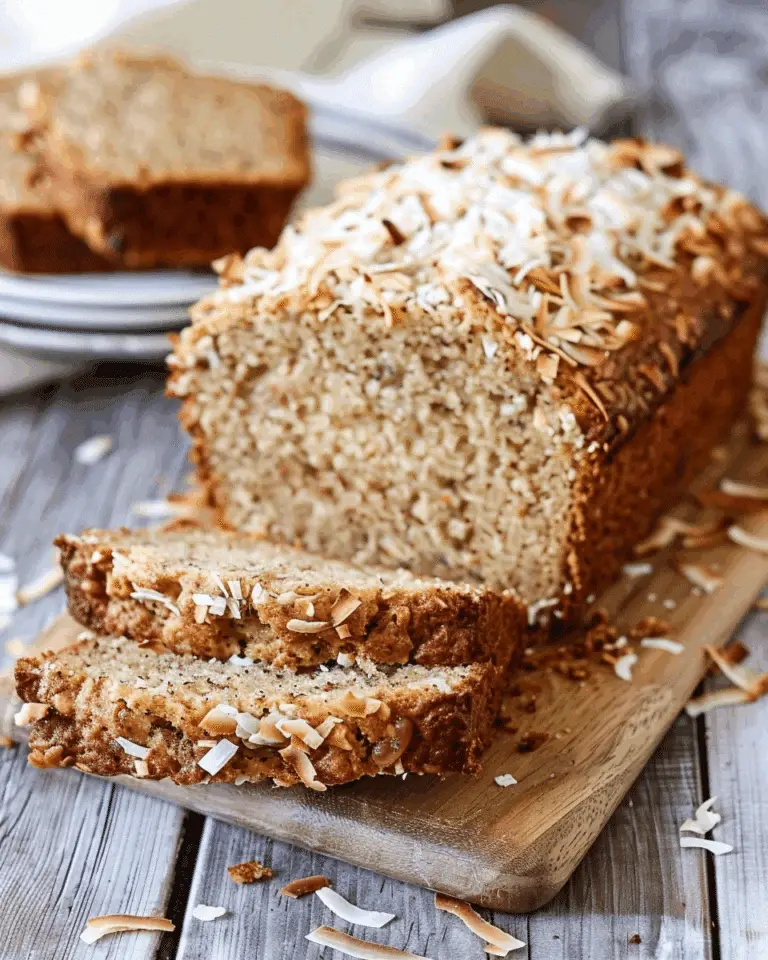
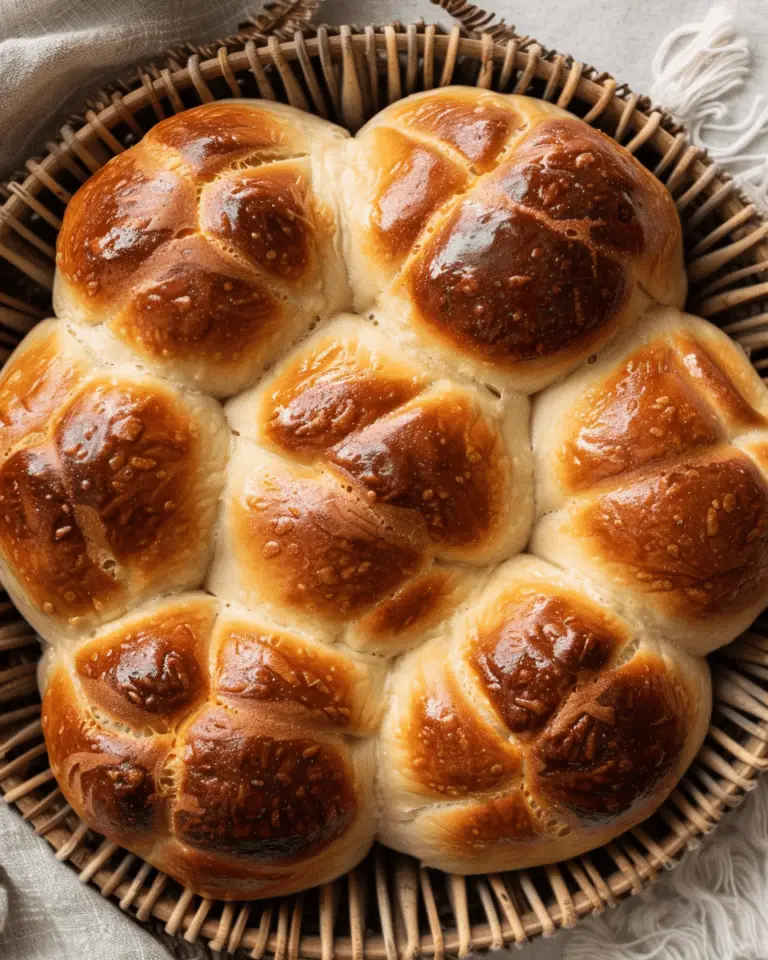
Why You’ll Love Easy Sourdough Bread Recipe
-
It uses simple ingredients you may already have (flour, water, salt, sourdough starter).
-
The method emphasizes gentle handling (stretch and fold instead of heavy kneading), making it accessible even for new bakers.
-
You can choose between a same‑day proof or a slow overnight cold proof for more flavor.
-
The result is a beautiful loaf with an open crumb and crisp crust.
Ingredients
(Tip: You’ll find the full list of ingredients and measurements in the recipe card below.)
-
All‑purpose flour (high protein is preferred)
-
Fine sea salt
-
Warm water
-
Active sourdough starter or levain
Directions
-
Mix the dough. In a large bowl, whisk together flour and salt. Add water and starter (or levain). Mix until no dry bits remain. The dough will feel shaggy and sticky.
-
Rest (autolyze). Cover loosely and let the dough sit for about 1 hour. This helps the flour fully hydrate and begin gluten formation.
-
Stretch and fold. Wet your hands slightly to avoid sticking. Perform a series of stretch-and-folds: lift one side and fold over, rotate the bowl, repeat for all sides. Cover between rounds. Do 4 sets total, spaced 30 minutes apart over the next 2 hours.
-
Bulk fermentation. After the last fold, let the dough rest, covered, until it becomes puffy, domed, and increases by ~50–75% in volume (usually 2 to 3 hours, depending on room temperature).
-
Pre‑shape. Gently turn the dough out onto a lightly floured surface. Shape it into a round by pulling edges under. Cover loosely and rest 15 minutes.
-
Final shaping. Lightly flour the top. Flip the dough so the floured side is down. Stretch into a rough square and fold corners toward center to form a loose package. Tuck seams, flip seam side down, then cup and roll to tighten the surface. It should feel taut yet slightly tacky.
-
Proofing.
-
Room temperature proof: Cover and proof at ~24 °C until slightly puffy, 1½ to 3 hours.
-
Cold proof: Cover and refrigerate for 10 to 12 hours (or up to 24 hours) for deeper flavor and easier handling.
-
-
Baking. Preheat oven to 240 °C (465 °F) with a 5‑quart Dutch oven (or domed bread oven) inside. Place parchment or a sling over your proofing basket. Flip the dough onto it, score about ½ inch deep. Remove the hot Dutch oven, lower in the dough + parchment together, cover, and bake 30 minutes. Then remove lid and bake another 10–15 minutes until golden and crisp. The loaf should sound hollow when tapped.
-
Cooling. Let the loaf cool on a wire rack at least 1 hour before slicing to allow the crumb to set fully.
Servings and timing
-
Servings: 1 boule, about 10 to 12 slices
-
Prep time: 30 minutes (hands‑on)
-
Cook time: 40 minutes
-
Total time: ~1 hour 40 minutes active, plus rise/rest time (about 7–9 hours same day or 15–18 hours with overnight proof)
Variations
-
Use a blend of flours: for more flavor and strength, combine 400 g bread flour, 60 g all-purpose flour, and 40 g rye.
-
Substitute part of the all-purpose with whole wheat or spelt (start with small proportions to avoid dense loaves).
-
Shape into bâtards or bâtard‑style loaves instead of a round boule.
-
Add mix‑ins like olives, rosemary, or seeds—fold them in during one of the stretch-and-fold rounds.
-
Adjust hydration slightly (increase or decrease water) based on the absorption of your flour or ambient humidity.
Storage/Reheating
-
The bread is best within 2 days, when the crust is crisp and the interior is fresh.
-
Keep at room temperature, cut-side down on a wooden board, loosely covered with a towel or paper bag. After a couple of days, you can move it to a bread box or wrap in a cloth in a partially closed plastic bag to slow staling.
-
To freeze: slice first, wrap tightly, and freeze for up to 3 months. Reheat slices (or whole loaf) in a 175 °C (350 °F) oven for 10–15 minutes to revive the crust.
FAQs
What if my sourdough starter isn’t very active?
You can build a levain by mixing part starter with fresh flour and water and letting it ferment until bubbly (4 to 6 hours), then use that in the recipe.
Can I skip the stretch-and-fold steps?
Those folds help develop gluten and structure while preserving dough airiness. Skipping them may lead to denser bread.
How do I know when the dough is ready after bulk fermentation?
It should be puffy, slightly domed, smooth on the surface with visible bubbles underneath, and jiggle slightly when you shake the bowl.
What temperature should water be?
Use warm water around 27 °C (80 °F). This helps the fermentation process stay active without stressing the yeast.
Can I bake without a Dutch oven?
Yes, but you’ll need a way to trap steam. Use a baking stone with a steam tray or a covered roaster. It won’t be quite the same, but you can still achieve good results.
What kind of scoring pattern should I use?
You can do a single slash, cross, spiral, or decorative slash—just score about ½ inch deep to guide expansion.
Why must I wait until the loaf cools before slicing?
Slicing too early leads to a gummy or doughy interior because the crumb hasn’t fully set.
How sour will the bread be?
The sourness depends on fermentation time and temperature. An overnight cold proof increases tang, while a quicker room‑temperature proof yields milder flavor.
Can I double the recipe?
Yes, but you’ll need a larger bowl and a bigger Dutch oven or bake in two batches.
What if the dough is too sticky to handle?
Lightly flour your hands and work surface. The dough should feel tacky but manageable. Don’t overdo the flour, or you may make the bread dense.
Conclusion
This sourdough bread recipe strikes a balance between structure and simplicity. By following a clear progression of rest, folds, fermentation, and proofing, you can produce a bakery-quality loaf with minimal stress. Experiment with flours, proofing schedules, and shaping styles to find your favorite version. Enjoy the reward of pulling a crackling, aromatic loaf from your oven—and the satisfaction of having baked it yourself.

Easy Sourdough Bread Recipe
- Total Time: 20 hours 50 minutes
- Yield: 1 loaf
- Diet: Vegetarian
Description
A classic sourdough bread recipe that yields a chewy crust and a soft, tangy interior using a natural sourdough starter. Perfect for home bakers looking to master artisan bread baking.
Ingredients
- 500 grams (3⅓ cups) bread flour, plus more for dusting
- 375 grams (1½ cups plus 1 tablespoon) water, at room temperature
- 100 grams (½ cup) active sourdough starter
- 10 grams (1¾ teaspoons) fine sea salt
- Rice flour, for dusting (optional)
Instructions
- In a large bowl, combine the bread flour and water. Mix until no dry spots remain. Cover and let sit for 1 hour (this is the autolyse).
- Add the sourdough starter and salt to the dough. Mix thoroughly by hand until fully incorporated.
- Let the dough rest, covered, for 30 minutes at room temperature.
- Perform 4 sets of stretch and folds over a 2-hour period, resting the dough for 30 minutes between each set.
- After the final fold, cover the bowl and let the dough ferment at room temperature for 4 to 5 hours, or until it has increased in volume by about 50%.
- Turn the dough out onto a lightly floured surface. Shape it into a round loaf by folding the edges into the center and flipping it seam-side down.
- Let the dough rest for 20 minutes, then perform a final shape to tighten the loaf.
- Place the dough into a well-floured proofing basket or bowl. Cover and refrigerate overnight for 12 to 18 hours.
- Preheat oven to 500°F (260°C) with a Dutch oven inside for at least 30 minutes.
- Carefully invert the dough onto a piece of parchment paper. Score the top with a sharp knife or lame.
- Transfer the dough (with parchment) into the hot Dutch oven. Cover and bake for 20 minutes.
- Remove the lid and lower oven temperature to 450°F (232°C). Bake for an additional 25 to 30 minutes, or until deep golden brown.
- Transfer the bread to a wire rack and let cool for at least 1 hour before slicing.
Notes
- Use an active and bubbly starter for best results.
- Adjust fermentation time based on room temperature — warmer kitchens will speed up the process.
- The dough is very hydrated and sticky; wet your hands to prevent sticking during folding and shaping.
- Baking in a Dutch oven traps steam, which helps develop a crusty exterior.
- Letting the bread cool before slicing improves texture and flavor.
- Prep Time: 20 hours
- Cook Time: 50 minutes
- Category: Bread
- Method: Baking
- Cuisine: American
Nutrition
- Serving Size: 1 slice (1/12 of loaf)
- Calories: 160
- Sugar: 0g
- Sodium: 180mg
- Fat: 0.5g
- Saturated Fat: 0g
- Unsaturated Fat: 0.5g
- Trans Fat: 0g
- Carbohydrates: 33g
- Fiber: 1g
- Protein: 5g
- Cholesterol: 0mg


