Why You’ll Love Soft Dinner Rolls Recipe
-
The dough is rich with butter, milk, and egg, giving you tender rolls that outshine many store‑bought kinds.
-
You’ll gain confidence making yeast bread—even if you’re a beginner—thanks to a straightforward process.
-
They’re versatile: great for dinner sides, sliders, sandwiches, breakfast, or just warm with butter.
-
The recipe includes make‑ahead and freezing options, so you can bake ahead for busy occasions.
Ingredients
(Tip: You’ll find the full list of ingredients and measurements in the recipe card below.)
-
1 cup (240 ml) whole milk, warmed to about 110 °F (43 °C)
-
2¼ teaspoons instant yeast (one standard packet)
-
2 Tbsp granulated sugar, divided
-
1 large egg
-
¼ cup (4 Tbsp; 56 g) unsalted butter, softened to room temperature and cut into 4 pieces
-
1 teaspoon salt
-
3 cups (390 g) all‑purpose or bread flour, spooned and leveled
-
Optional topping: 2 Tbsp (28 g) melted unsalted butter mixed with 1 Tbsp honey
Directions
-
In the bowl of a stand mixer (or a large mixing bowl if kneading by hand), whisk the warmed milk, yeast, and 1 Tbsp of the sugar together. Cover and let sit for 5 minutes.
-
Add the remaining sugar, the egg, butter pieces, salt, and 1 cup of flour. Using a dough hook or paddle attachment, mix on low speed for ~30 seconds, scrape down the sides, then add the remaining flour. Beat on medium speed until the dough pulls away from the bowl sides (about 2 minutes). If it’s too wet, add flour 1 Tbsp at a time until manageable.
-
Knead the dough: continue in the mixer for an additional 5 minutes, or knead by hand on a lightly floured surface for 5 minutes. The dough should feel soft and slightly tacky; if it sticks too much, sprinkle flour teaspoon by teaspoon. You can use the “windowpane test” to check readiness.
-
First rise: Lightly grease a large bowl, place the dough in the bowl turning to coat all sides in oil. Cover with foil, plastic wrap, or a towel. Let rise in a warm spot for about 1–2 hours or until doubled in size.
-
Grease a 9×13‑inch baking pan (or two 9‑inch pans), or use a cast‑iron skillet or lined baking sheet.
-
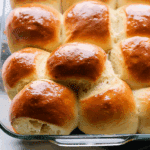
Shape the rolls: Punch down the dough to release air. Divide into 14–16 equal pieces (eyeballing is fine). Shape each into a smooth ball by stretching the top of the dough and pinching the bottom closed. Arrange the balls in the prepared pan.
-
Second rise: Cover the shaped rolls and let them rise until puffy, about 1 hour.
-
Preheat your oven to 350 °F (177 °C) and adjust the rack to a lower position to prevent the tops from browning too quickly.
-
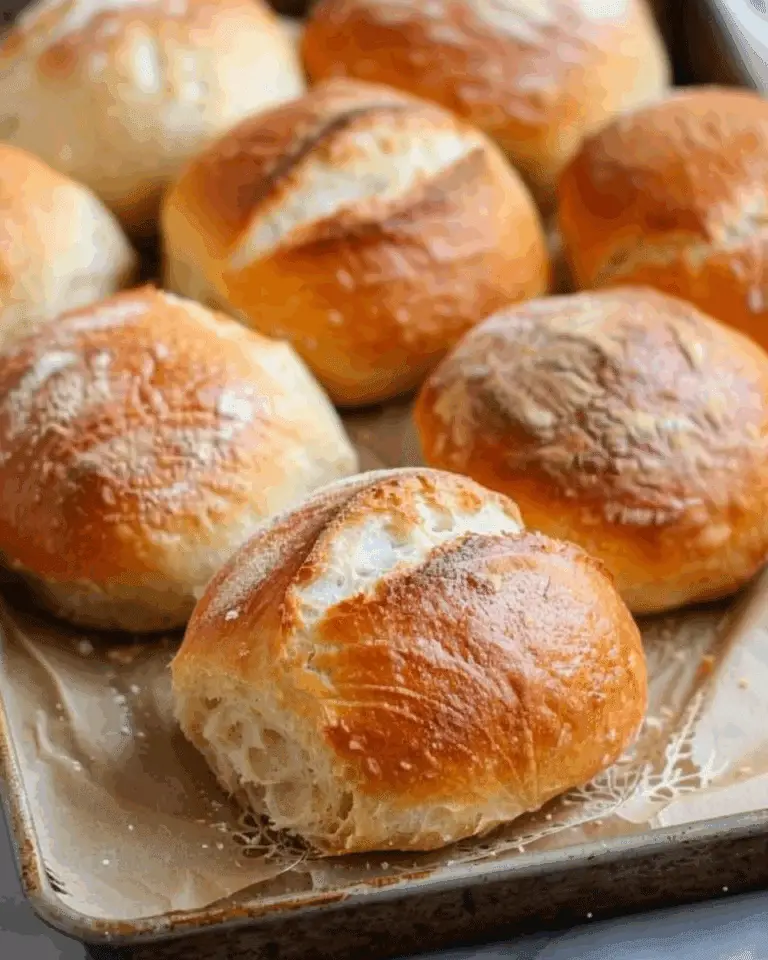
Bake for 20–25 minutes or until golden brown on top, rotating the pan halfway through. If tops are browning too fast, loosely tent with foil. Remove from oven and, if desired, brush the warm rolls with the melted butter‑and‑honey topping. Let cool for a few minutes before serving.
-
Cover leftover rolls tightly and store at room temperature for 2–3 days or in the refrigerator for up to 1 week.
Servings and timing
-
Yield: about 14–16 rolls.
-
Prep time: ~3 hours 25 minutes (including rising time)
-
Cook time: ~22 minutes
-
Total time: ~3 hours 45 minutes
Variations
-
Rosemary dinner rolls: add ~2 Tbsp fresh or dried chopped rosemary when you add the flour.
-
Cheddar dinner rolls: fold in ~1 cup shredded cheddar cheese (other semi‑firm cheeses also work).
-
Garlic & herb dinner rolls: mix in ~2 tsp each dried rosemary, dried basil & dried parsley and ~1 tsp garlic powder.
-
Whole wheat version: use a dedicated whole‑wheat roll recipe for best results (rather than simply swapping in whole wheat flour).
-
Sweet twist: brush with honey butter or cinnamon butter for added flavor.
Storage/Reheating
-
To refrigerate: After baking, once cooled, store tightly covered at room temperature for up to 2‑3 days, or in the refrigerator for up to 1 week.
-
To freeze shaped but unbaked rolls: Prepare through shaping, cover tightly, freeze up to 3 months. On baking day, thaw in pan, cover, let rise ~4–5 hours, then bake as directed.
-
To freeze baked rolls: Cool completely, freeze up to 3 months. Reheat in a 300 °F (149 °C) oven for about 10 minutes (lightly covered) until warm.
-
For leftover baked rolls: Reheat whole pan or individual rolls in a warm oven or microwave briefly, then brush with warmed butter if desired for freshness.
FAQs
What type of yeast should I use?
You can use instant yeast (also labeled rapid‑rise) for this recipe. If using active dry yeast instead, rise times will be slightly longer.
Can I substitute low‑fat or non‑dairy milk?
Yes—though using whole milk will yield the softest, richest texture. Non‑dairy or lower fat milks may work but the rolls might be slightly less tender.
Can I use bread flour instead of all‑purpose flour?
Yes—you can substitute bread flour (same quantity) if you prefer chewier rolls. The recipe works the same either way.
Why did my rolls turn out dense instead of fluffy?
A few possibilities: the yeast was old or inactive; the dough didn’t rise enough; too much flour was added making it dry; or rising conditions (temperature) were too cool. Also ensure you spoon and level the flour instead of scooping to avoid packing in extra flour.
Can I skip the second rise?
Skipping or shortening the second rise may lead to denser rolls with less lift—so it’s not recommended if you want the soft, airy texture.
Can I make the dough ahead of time?
Yes—after shaping the rolls you can refrigerate them (tightly covered) for up to about 15 hours before the second rise. Then remove, let rise ~1‑2 hours, and bake. Freezing is also an option (see storage section).
Can I add other flavors (cheese, herbs, garlic)?
Absolutely—you can fold in herbs like rosemary, garlic powder, or shredded cheese when adding the flour to customize the flavor.
How should I measure the flour?
Spoon the flour into the measuring cup or use a scale (390 g in this recipe) and level it. Avoid scooping flour from the container directly, as that can compact the flour and lead to too much, resulting in heavier dough.
Can I make smaller or larger rolls?
Yes—dividing the dough into more pieces will give smaller rolls, or fewer pieces will give larger ones. Adjust the bake time slightly if you change size (smaller rolls may bake faster, larger may need more time).
What if the tops brown too quickly during baking?
If the tops are browning before the rolls are fully baked, loosely tent the pan with aluminum foil and continue baking until done.
Conclusion
These soft dinner rolls bring the warmth and comfort of homemade bread right into your home. With just seven ingredients and clear, manageable steps, you’ll soon be pulling golden‑brown, buttery rolls out of the oven—perfect for family meals, holiday dinners, or any time you’d rather skip the store‑bought bread. Your future self (and your guests) will thank you.

Soft Dinner Rolls
- Total Time: 2 hours 25 minutes
- Yield: 15 rolls
- Diet: Vegetarian
Description
These soft dinner rolls are buttery, fluffy, and perfect for any meal. Made from scratch with simple ingredients, they deliver a light, tender texture ideal for serving warm with butter.
Ingredients
- 1 cup (240ml) whole milk, warmed to about 110°F (43°C)
- 2 tablespoons (30g) granulated sugar
- 2 and 1/4 teaspoons (1 standard packet) active dry or instant yeast
- 1/4 cup (60g) unsalted butter, melted and slightly cooled
- 1 large egg, at room temperature
- 3 cups (375g) all-purpose flour, plus more as needed
- 1 teaspoon salt
- Optional: additional melted butter for brushing
Instructions
- Whisk the warm milk, sugar, and yeast together in a large bowl. Cover and allow to sit for 5 minutes until foamy.
- Add the melted butter, egg, salt, and 1 cup of flour. Stir to combine.
- Add the remaining flour 1 cup at a time, mixing until a soft dough forms. If dough is too sticky, add 1 tablespoon of flour at a time until it pulls away from the sides of the bowl.
- Turn the dough out onto a lightly floured surface and knead for 3–5 minutes until smooth and elastic.
- Place the dough in a lightly greased bowl, cover, and let rise in a warm place for 1–2 hours or until doubled in size.
- Punch down the dough and divide into 15 equal pieces. Shape into balls and place in a greased 9×13 inch baking pan.
- Cover and let the rolls rise for 1 hour until puffy.
- Preheat oven to 350°F (177°C). Bake the rolls for 20–25 minutes until golden brown on top.
- Remove from oven and brush with optional melted butter. Cool slightly before serving.
Notes
- You can make the dough a day ahead and let it rise in the refrigerator overnight.
- These rolls freeze well for up to 3 months.
- Ensure your milk isn’t too hot, or it may kill the yeast.
- Prep Time: 2 hours
- Cook Time: 25 minutes
- Category: Bread
- Method: Baking
- Cuisine: American
Nutrition
- Serving Size: 1 roll
- Calories: 150
- Sugar: 2g
- Sodium: 150mg
- Fat: 5g
- Saturated Fat: 3g
- Unsaturated Fat: 1.5g
- Trans Fat: 0g
- Carbohydrates: 22g
- Fiber: 1g
- Protein: 3g
- Cholesterol: 20mg


